How To Make Origami Star: Step-by-Step Instructions
By Zakir Hossain
Published: Nov 15, 2024
Share the post

Table of contents
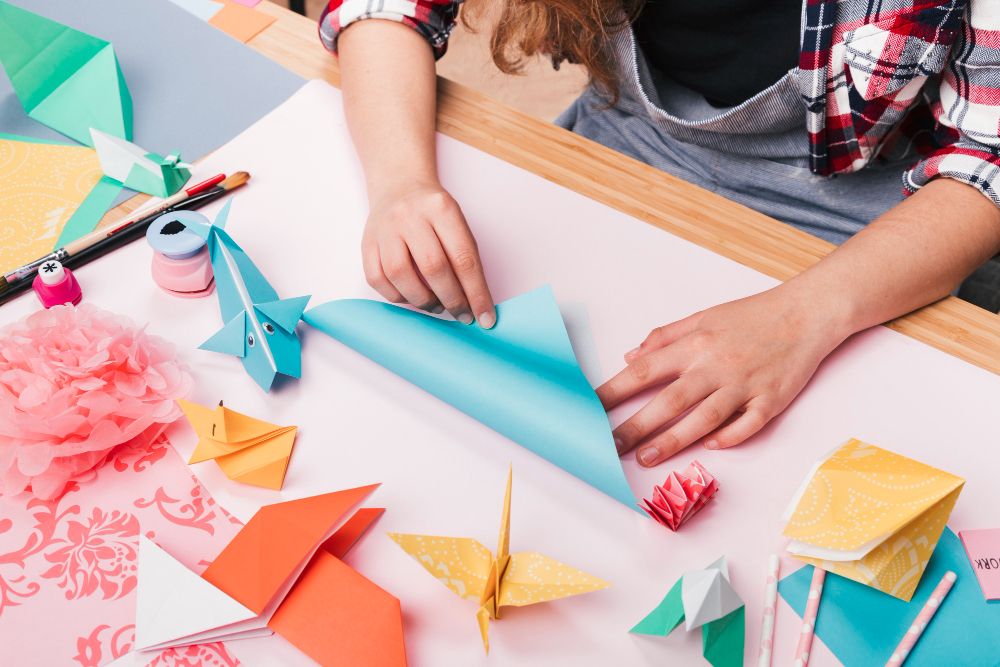
Origami, the Japanese art of paper folding, has gained immense popularity worldwide. It’s a fun and creative activity that allows you to transform a simple piece of paper into intricate and beautiful shapes. One of the most popular origami shapes is the origami star, which comes in various styles and levels of complexity. In this blog post, we’ll walk you through how to make three different types of origami stars: the Easy Origami Star, the Origami Lucky Star, and the 3D Origami Star. Whether you’re a beginner or an experienced folder, these step-by-step instructions will help you create your own paper stars.
1. Easy Origami Star (Five-Pointed)
The Easy Origami Star is a simple yet stunning design with five points. It’s perfect for beginners and doesn’t require advanced folding skills. Here’s how to make it:
Materials Needed:
- One square sheet of paper (any size, but 15cm x 15cm is ideal)
Instructions:
-
Start with a Square Paper Begin by placing the square paper with the color side facing up.
-
Fold the Paper Diagonally Fold the paper in half diagonally to form a triangle. Crease well and unfold.
-
Fold the Corners to the Center Fold each of the four corners of the square toward the center of the paper. This will form a smaller square shape.
-
Create a Triangle Now, fold the paper in half diagonally again, but this time with the folded corners facing outwards. You will end up with a smaller triangle.
-
Fold the Sides In Take the two edges of the triangle and fold them towards the center to form a point at the top.
-
Final Adjustment Finally, flatten all the folds, ensuring each point is sharp and crisp. This will reveal a perfect five-pointed origami star!
2. Origami Lucky Star
Origami Lucky Stars are a popular and symbolic design, often used as decorations or tokens of good fortune. The process involves folding paper strips, and while it might take a little patience, the result is well worth it. Here’s how to create a simple Origami Lucky Star:
Materials Needed:
- One strip of paper (around 1 cm wide and 20 cm long)
Instructions:
-
Start with a Paper Strip Begin by taking a long strip of paper. You can use any color of paper, though the traditional lucky star uses colorful paper strips.
-
Make a Knot Begin by tying the paper strip into a tight knot, leaving a small loop on the top. The knot should be placed at one end of the strip.
-
Fold the Strip Next, take the short end of the strip (the part that is not knotted) and fold it around the knot. Ensure the strip fits snugly around the knot and folds neatly along the sides.
-
Tuck in the End Once you have folded the strip around the knot, tuck the remaining end of the strip into the fold. This should form a small pentagon shape with the paper.
-
Fold the Points Now, fold each of the five points of the pentagon towards the center. This will gradually form the shape of a star.
-
Shape the Star Carefully pinch and shape the points to get the perfect star form. You can adjust the folds slightly to make the star more symmetrical.
-
Final Touch To finish, gently puff out the star by pressing in the middle. This will give it a three-dimensional shape and make your lucky star pop out with full beauty.
3. 3D Origami Star
The 3D Origami Star is a more intricate design that creates a visually striking, multi-dimensional star. This star requires multiple units to be folded and then assembled to form the final shape. Though the steps are more involved, the end result is stunning.
Materials Needed:
- Multiple square sheets of paper (around 1-2 sheets per point of the star, depending on the size you want)
Instructions:
-
Prepare the Paper Units Start by preparing several square sheets of paper (typically 6-12, depending on how many points your star will have). Each square piece of paper will be folded into a unit.
-
Folding the Paper Units Take one square sheet of paper and follow these steps:
- Fold the paper diagonally in both directions to create crease lines.
- Fold the paper in half both horizontally and vertically, then unfold.
- Fold each corner towards the center crease, creating a smaller square.
- Fold the edges of this square in to meet the center again. Repeat for all paper units.
-
Assembling the Star Once you have folded the units, it's time to assemble them:
- Attach the paper units by interlocking the flaps together. Each unit will form one point of the star.
- Start by attaching one unit, then continue adding units one by one around the center.
-
Creating the 3D Effect After all units are attached, you should have a 3D star with sharp, pointed edges. The more units you use, the more defined the points of the star will be.
-
Adjusting and Shaping Finally, gently press the edges of the star and adjust the points to ensure they are evenly spaced and sharp. You can also add extra layers to the center of the star to create more depth.
-
Finish Your 3D Star Your 3D origami star is now complete! Place it in a prominent spot as a decoration, or use it as a gift tag or ornament.
Conclusion
Origami stars are a delightful and creative way to engage in paper folding. Whether you opt for the simple five-pointed star, the lucky star with its symbolic charm, or the intricate 3D origami star with its geometric beauty, each version brings its own unique style and charm. Practice these folding techniques, and soon you’ll be able to make these stunning origami stars with ease.
Happy folding!
Related Products
Related Posts
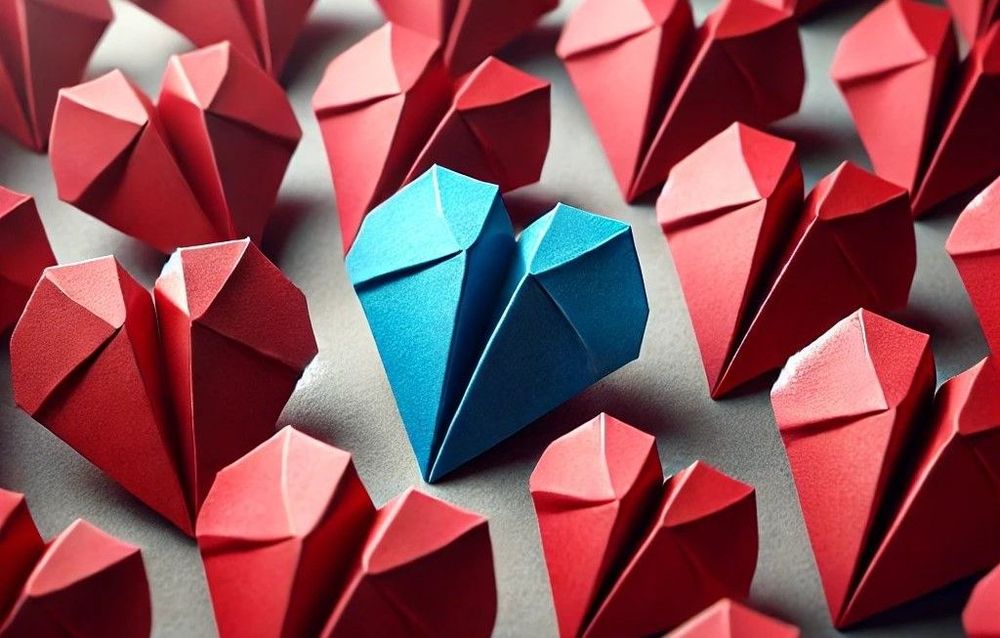
How To Make An Origami Heart: Step-by-Step Instructions for Beginners to Experts
Learn how to make an origami heart with easy-to-follow, step-by-step instructions. Discover how to create simple, 3D, and complex origami hearts for any occasion, with visual guides to help you along the way. Perfect for beginners and origami enthusiasts alike!
By Zakir Hossain
Published: Nov 14, 2024
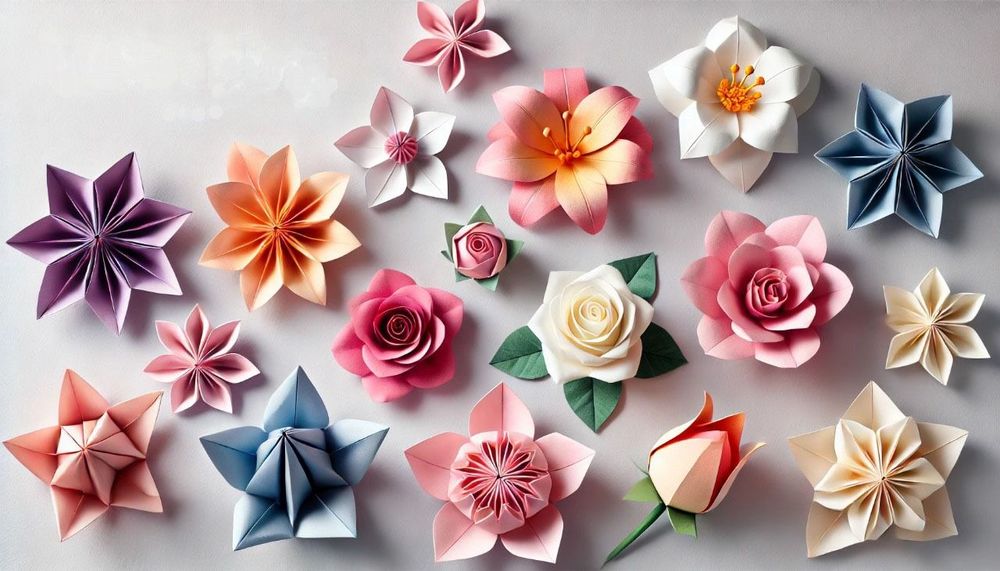
How to Make a Paper Flower: Step-by-Step Instructions for 5 Beautiful Origami Flowers
Learn how to make beautiful paper flowers with our step-by-step origami flower guide. Discover instructions for creating a lily, rose, cherry blossom, lotus, and tulip, perfect for any craft project.
By Zakir Hossain
Published: Nov 15, 2024
Paper Crafting: Art of Transforming Paper into Masterpieces
Discover the art of paper crafting in this comprehensive guide. Learn about different types of paper crafting, essential elements, and how to get started on your creative journey. Perfect for beginners and experienced crafters alike.
By Md Zakir Hossain
Published: Nov 11, 2024

What is Origami Paper? - Discover the Varieties and Creative Uses of Origami Paper
Discover the versatility of origami paper, essential for the art of paper folding. Explore various types like kami, washi, chiyogami, foil paper, and tissue foil. Perfect for decoration, gift presentation, jewelry, stationery, and scrapbooking. Mastering origami paper enhances creativity and artistic expression.
By Md Zakir Hossain
Published: Nov 13, 2024