How to Make a Paper Flower: Step-by-Step Instructions for 5 Beautiful Origami Flowers
By Zakir Hossain
Published: Nov 15, 2024
Share the post
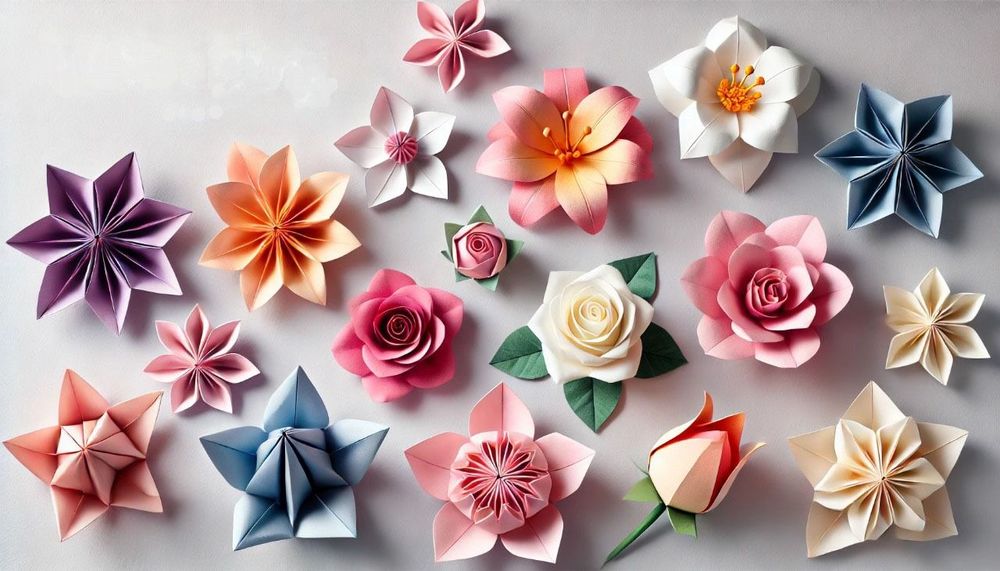
Table of contents
Creating paper flowers through origami is a fantastic way to add beauty to your home, make unique gifts, or simply enjoy a relaxing craft. With just a piece of paper, you can create beautiful, intricate designs that resemble real flowers. In this guide, we’ll walk you through how to make five different types of paper flowers: Lily, Rose, Cherry Blossom, Lotus, and Tulip.
Whether you’re a beginner or have some experience with origami, these step-by-step instructions will help you create your own collection of paper flowers.
1. Paper Lily Flower
The paper lily is a classic origami flower that’s both elegant and relatively simple to make. It’s a great starting point for beginners looking to make paper flowers.
Materials Needed:
- One square sheet of paper (preferably 15cm x 15cm)
Instructions:
-
Fold Diagonally Start by folding the paper diagonally in both directions to create an “X” crease pattern. Unfold the paper afterward.
-
Create a Kite Base Fold each corner of the square towards the center. This will create a smaller square, known as the kite base in origami.
-
Form Petals Fold the two edges of the top layer to the center crease, then repeat on all four sides.
-
Open the Petals Carefully pull each petal layer up and open it to form the lily shape.
-
Curl the Petals Use a pen or a round object to gently curl each petal outward to give the flower a more realistic look.
For a more detailed look at each step watch this Video. It will provide a visual guide that makes it easier to follow along and understand the folding techniques for this flower.
2. Paper Rose Flower
The origami rose is one of the more challenging paper flowers to make, but its beautiful spiral design is worth the effort. Here’s how to make a stunning paper rose.
Materials Needed:
- One square sheet of paper (15cm x 15cm)
Instructions:
-
Make a Square Base Fold the paper in half both horizontally and vertically, then unfold. This should create four squares within the paper.
-
Fold Diagonally Fold the paper in half diagonally in both directions, then unfold. This will create an “X” crease.
-
Form the Rose Shape Pinch the edges of the paper along the diagonal folds, bringing the corners together. This should create a 3D diamond shape with multiple layers.
-
Twist the Rose Starting from the outer edges, gently twist the layers of paper inward to form a spiral shape. Continue twisting and shaping until you achieve the desired rose look.
-
Refine the Shape Adjust each layer to give the rose a fuller and more natural appearance.
For a more detailed look at each step watch this Video. It will provide a visual guide that makes it easier to follow along and understand the folding techniques for this flower.
3. Paper Cherry Blossom Flower
The cherry blossom is a delicate and beautiful flower that’s easy to recreate with origami. This flower is perfect for decorations and adds a touch of elegance to any space.
Materials Needed:
- One square sheet of paper (10cm x 10cm recommended)
Instructions:
-
Create a Triangle Start by folding the paper diagonally to form a triangle.
-
Fold Again Fold the triangle in half again to make a smaller triangle.
-
Mark the Petals Draw a small curve on the top edge of the triangle to outline the petal shape.
-
Cut Along the Curve Carefully cut along the curve you just drew, then unfold the paper to reveal a five-petal cherry blossom shape.
-
Add Details Use a pen to draw small details, like lines at the base of each petal, to make the cherry blossom look more realistic.
For a more detailed look at each step watch this Video. It will provide a visual guide that makes it easier to follow along and understand the folding techniques for this flower.
4. Paper Lotus Flower
The lotus is an iconic flower in origami, known for its layers and beauty. It’s a great choice if you want to make a larger, fuller flower.
Materials Needed:
- One square sheet of paper (20cm x 20cm works well for a larger flower)
Instructions:
-
Fold the Corners Begin by folding each corner of the square towards the center. This creates a smaller square.
-
Repeat the Fold Fold the new corners of the smaller square toward the center again. You’ll have an even smaller square now.
-
Turn the Paper Over Flip the paper over and fold each corner toward the center once more.
-
Pull Up the Petals Gently pull up each layer to form the lotus petals. The outer layers will become the bottom petals, while the inner layers will be the center of the flower.
-
Shape the Flower Adjust and shape each layer to give the lotus a natural, full appearance.
For a more detailed look at each step watch this Video. It will provide a visual guide that makes it easier to follow along and understand the folding techniques for this flower.
5. Paper Tulip Flower
The paper tulip is a simple yet charming flower that’s ideal for beginners. With just a few folds, you can create this classic flower shape.
Materials Needed:
- One square sheet of paper (15cm x 15cm)
- Optional: Green paper for a stem
Instructions:
-
Create a Triangle Base Fold the paper diagonally to form a triangle, then unfold it.
-
Form the Water Bomb Base Fold both sides to the center, creating a diamond shape. Flip it over and repeat on the other side to form the water bomb base.
-
Shape the Petals Fold the bottom corners of the diamond up to create the tulip’s petals.
-
Inflate the Flower Blow gently into the bottom of the flower to inflate it, giving it a three-dimensional shape.
-
Add a Stem Roll or fold a piece of green paper to create a stem. Insert it into the bottom of the tulip for a finishing touch.
For a more detailed look at each step watch this Video. It will provide a visual guide that makes it easier to follow along and understand the folding techniques for this flower.
Creating paper flowers is a relaxing and creative activity that allows you to bring beauty into your home with just a few simple materials. With these step-by-step instructions, you’ll be able to make five beautiful origami flowers and enjoy the art of paper folding.
Happy crafting!
Related Products


Related Posts
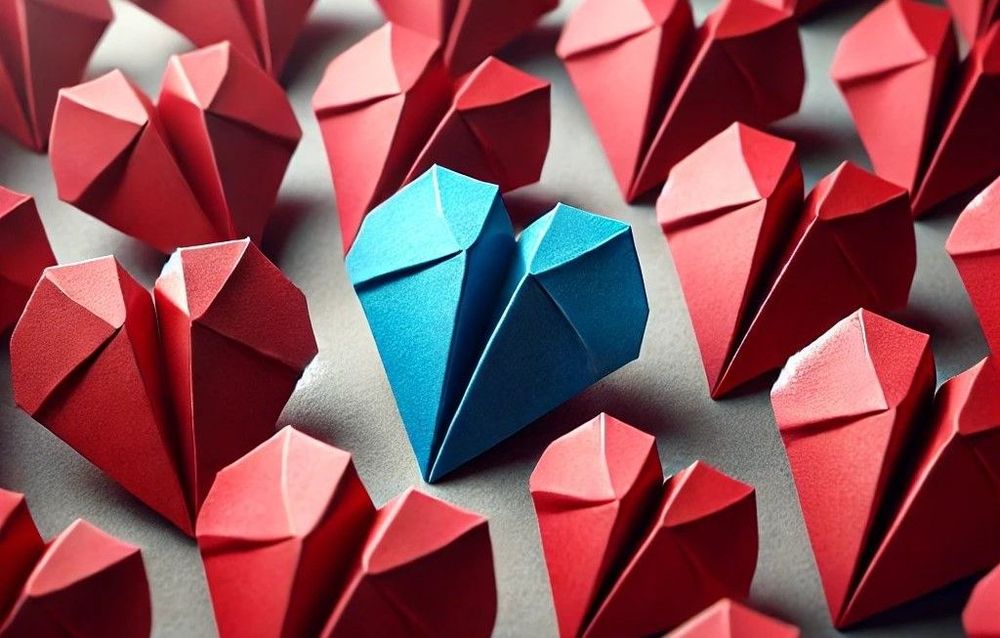
How To Make An Origami Heart: Step-by-Step Instructions for Beginners to Experts
Learn how to make an origami heart with easy-to-follow, step-by-step instructions. Discover how to create simple, 3D, and complex origami hearts for any occasion, with visual guides to help you along the way. Perfect for beginners and origami enthusiasts alike!
By Zakir Hossain
Published: Nov 14, 2024

How To Make Origami Star: Step-by-Step Instructions
Learn how to make a beautiful origami star with our easy-to-follow step-by-step guide. Includes instructions for making Easy Origami Star, Origami Lucky Star, and 3D Origami Star.
By Zakir Hossain
Published: Nov 15, 2024
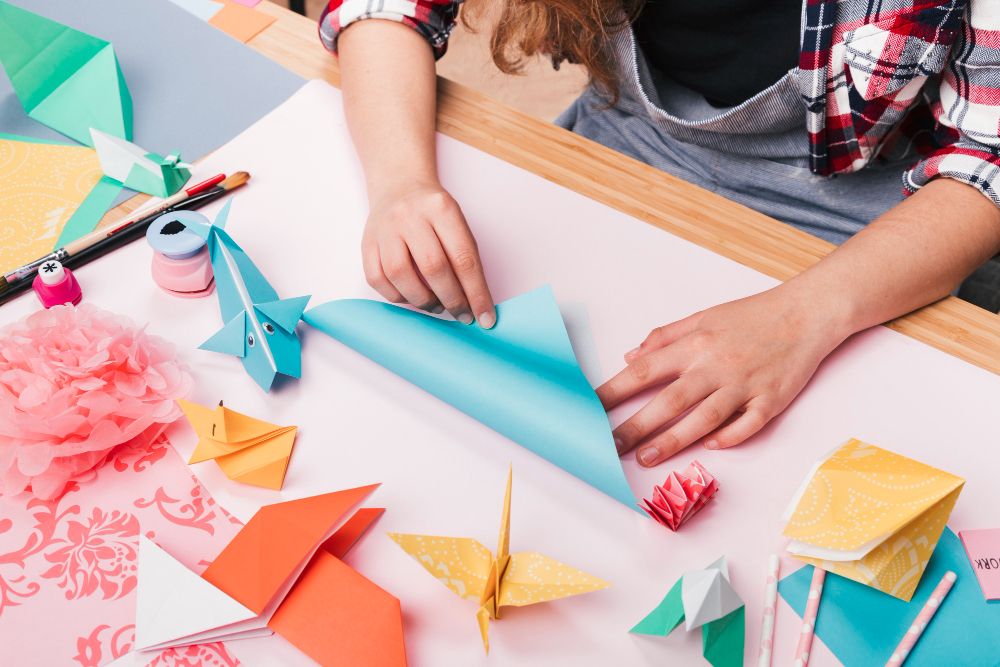
Paper Crafting: Art of Transforming Paper into Masterpieces
Discover the art of paper crafting in this comprehensive guide. Learn about different types of paper crafting, essential elements, and how to get started on your creative journey. Perfect for beginners and experienced crafters alike.
By Md Zakir Hossain
Published: Nov 11, 2024

What is Origami Paper? - Discover the Varieties and Creative Uses of Origami Paper
Discover the versatility of origami paper, essential for the art of paper folding. Explore various types like kami, washi, chiyogami, foil paper, and tissue foil. Perfect for decoration, gift presentation, jewelry, stationery, and scrapbooking. Mastering origami paper enhances creativity and artistic expression.
By Md Zakir Hossain
Published: Nov 13, 2024