How to Make a Paper Gift Box: Detailed Guide
By Zakir Hossain
Published: Nov 17, 2024
Share the post

Table of contents
Giving gifts is an art; the experience is much enhanced by the packing. Although store-bought boxes and wrapping paper are somewhat common, creating a customized paper gift box will give your present some originality and consideration. This book will help you through the methodical process of creating your very own Origami box out of basic supplies.
Items Requiring to make a Paper Gift Box
Get the required items before beginning mentioned below,
- Square paper sheets
- Ruler ( optional, for exact folds)
- scissors If resizing paper (optional)
- Ornamental elements ( ribbon, washi tape, or stickers)
Most projects benefit from a conventional origami paper size of 15x15 cm or 20x20 cm; although, you can use any square paper according on the intended size of the box.
Correct Weight of Paper to make Gift Box
The paperweight you choose for a gift box should complement the kind of objects you intend to put within.
-
For light items, opt for 60-pound cardstock to ensure thinner contents.
-
For medium-weight items, 80-pound cardstock provides adequate support.
-
Use a thicker 100 lb cardstock for heavier items. Keep in mind, nevertheless, that really thick paper—like cardstock exceeding 100 lb—may shatter when folded. For complex folds, it is thus advisable to refrain from employing such heavy material.
Detailed Guide on Creating a Paper Gift Box
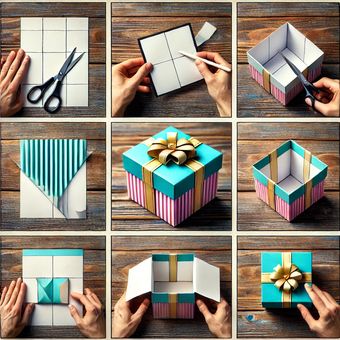
These easy guidelines will help you design your paper gift box:
First Step: Getting Your Paper Ready
Starting with two square paper sheets, choose: The lid of the box will come from one sheet. The other will provide the base of the box. To let the lid fit correctly when completed, make sure the paper for it is somewhat bigger than the one for the base. Think about using a 16x16 cm paper for the lid if your base is 18x18 cm.
Second Step: Paper Gift Box Base Folding
- Make Initial Folds: Arrange the colored side of the paper upward. Fold the paper vertically and well wrinkle it. Show it unfolded. Fold the paper halfway horizontally and carefully crease it. unfolded it. Right now, the middle of the paper should show crossing creases creating a cross.
To produce two diagonal creases, fold the paper diagonally from corner to corner. unfold following each fold.
-
Mark the Center Point: Every crease should now converge at the middle. This directs the forthcoming folds.
-
Fold the Corners to the Center : Crease carefully after bringing every side of the paper to the center point. You should now have folded triangle-containing a smaller square.
-
Build the Box Sides: unfold the top and bottom triangles leaving the side triangles folded. Starting from the top edge, fold it in line with the inside wrinkles towards the middle. Continue with the bottom edge.
Unfold every fold and refold them to create both vertical and horizontal sides. Create the base structure by lifting the sides and tucking in the corners.
Third Step : Paper Gift Box Lid Folding
-
Use the Larger Sheet of Paper: - Placed the slightly larger paper colored side up, then repeat the first steps of building vertical, horizontal, and diagonal folds.
-
Change the Folds for the Lid: - Fold the base following the same technique, but make sure the creases are not as deep to let the lid to be rather wider.
-
Build the Lid Structure: Bring the edges toward the middle and crease to form a shallow box. Tuck in the corners just like base does.
Fourth step: Assembling the Paper Gift Box
To find a close fit, top the base with the lid. The lid should glide readily but remain tight.
For a more detailed look at each step watch this Video. It will provide a visual guide that makes it easier to follow along and understand the folding techniques for this paper gift box
Extra Advice for Ornamental Enhancement of Your Paper Gift Box
-
Wrapping:One could improve the appearance of the finished Origami box by wrapping a ribbon around it.
-
Stickers and Washi Tape : Personalize the box with beautiful stickers or washi tape.
-
Handmade Tag:For a very personal touch, attach a little handmade tag bearing a unique message.
Advantages of Creating Own Paper Gift Box
-
Eco-Friendly: Making a paper gift box allows one to be environmentally friendly since it can be recycled and requires few resources.
-
Cost-Effective: Making a gift box at home saves money as compared to bought pre-made boxes.
-
Customizable: To fit the occasion or theme of your gift, you can match the paper type—from brilliant patterned sheets to sophisticated plain colors.
-
Fun Craft Project: Making Origami boxes offers both adults and children a great hobby that lets them bond and release their imagination.
Typical Mistakes to Avoid
-
Using Non-Square Paper: Make sure the paper is exactly square; else, the folds won't align correctly and the box will be unequal.
-
Misaligned Folds: Create every fold exactly to prevent slanted edges or gaps.
-
Choosing the Wrong Paper Weight: Use paper strong enough to maintain form. Results from thin or too thick paper might not be the greatest ones.
Summary
A fun and easy project that gives any gift a unique touch is how to create a paper gift box. Following the described techniques will let you design a lovely Origami box fit for several events. These handcrafted boxes demonstrate consideration and inventiveness whether for holidays, birthdays, or just a small token of gratitude. Practicing can let you investigate several paper sizes, colors, and decorations to improve your creations.
Underneath to help you refine your folding technique and produce excellent paper gift boxes is a YouTube video showing each step for those who prefer a visual approach.
Happy creating!
Related Products


Related Posts
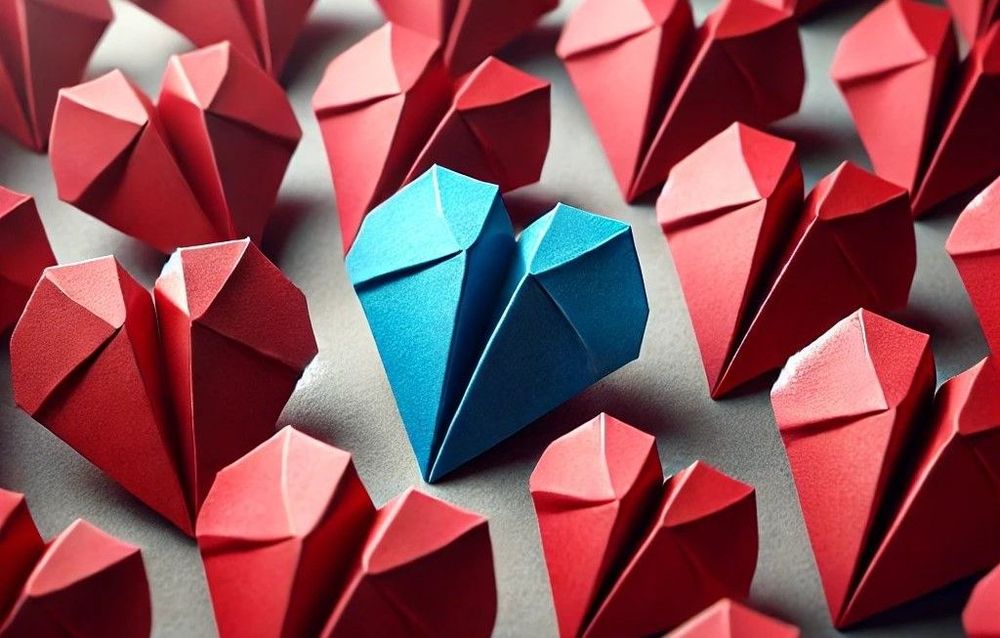
How To Make An Origami Heart: Step-by-Step Instructions for Beginners to Experts
Learn how to make an origami heart with easy-to-follow, step-by-step instructions. Discover how to create simple, 3D, and complex origami hearts for any occasion, with visual guides to help you along the way. Perfect for beginners and origami enthusiasts alike!
By Zakir Hossain
Published: Nov 14, 2024

How To Make Origami Star: Step-by-Step Instructions
Learn how to make a beautiful origami star with our easy-to-follow step-by-step guide. Includes instructions for making Easy Origami Star, Origami Lucky Star, and 3D Origami Star.
By Zakir Hossain
Published: Nov 15, 2024
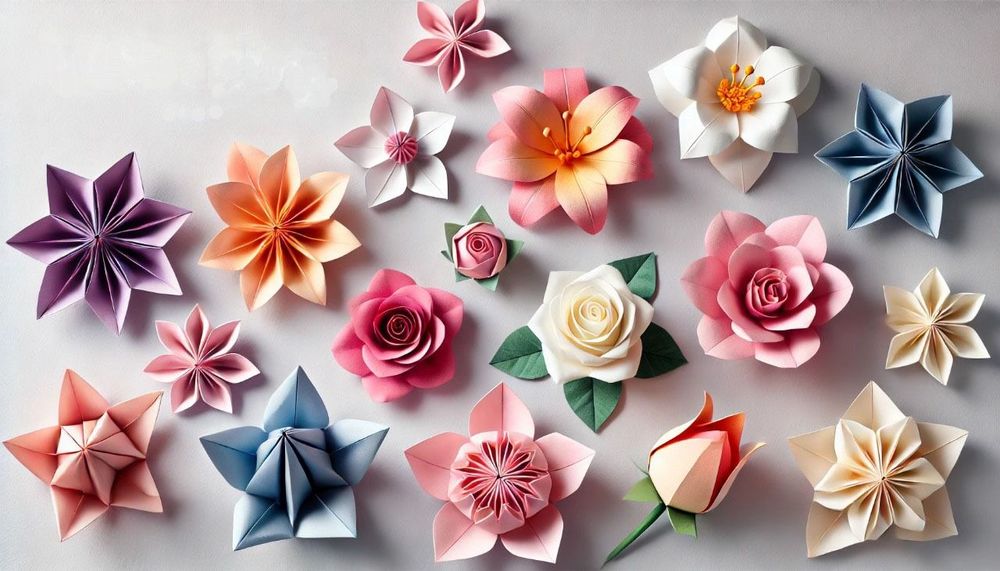
How to Make a Paper Flower: Step-by-Step Instructions for 5 Beautiful Origami Flowers
Learn how to make beautiful paper flowers with our step-by-step origami flower guide. Discover instructions for creating a lily, rose, cherry blossom, lotus, and tulip, perfect for any craft project.
By Zakir Hossain
Published: Nov 15, 2024
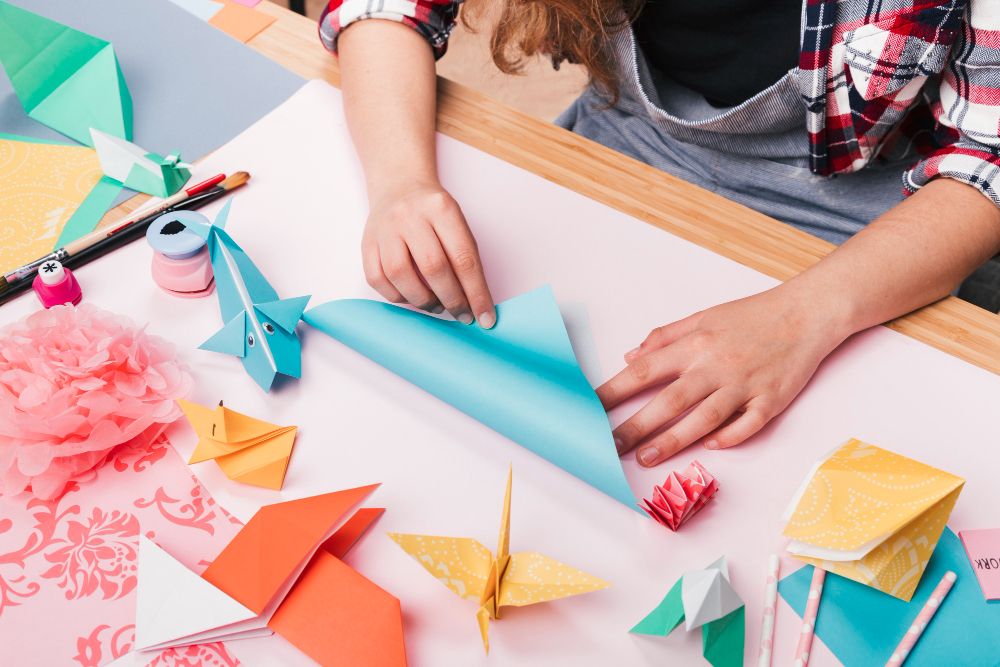
Paper Crafting: Art of Transforming Paper into Masterpieces
Discover the art of paper crafting in this comprehensive guide. Learn about different types of paper crafting, essential elements, and how to get started on your creative journey. Perfect for beginners and experienced crafters alike.
By Md Zakir Hossain
Published: Nov 11, 2024

What is Origami Paper? - Discover the Varieties and Creative Uses of Origami Paper
Discover the versatility of origami paper, essential for the art of paper folding. Explore various types like kami, washi, chiyogami, foil paper, and tissue foil. Perfect for decoration, gift presentation, jewelry, stationery, and scrapbooking. Mastering origami paper enhances creativity and artistic expression.
By Md Zakir Hossain
Published: Nov 13, 2024